

Requirements
- Node.js 16+
- WalletKit (
@reown/walletkit)
Pre-Requisites
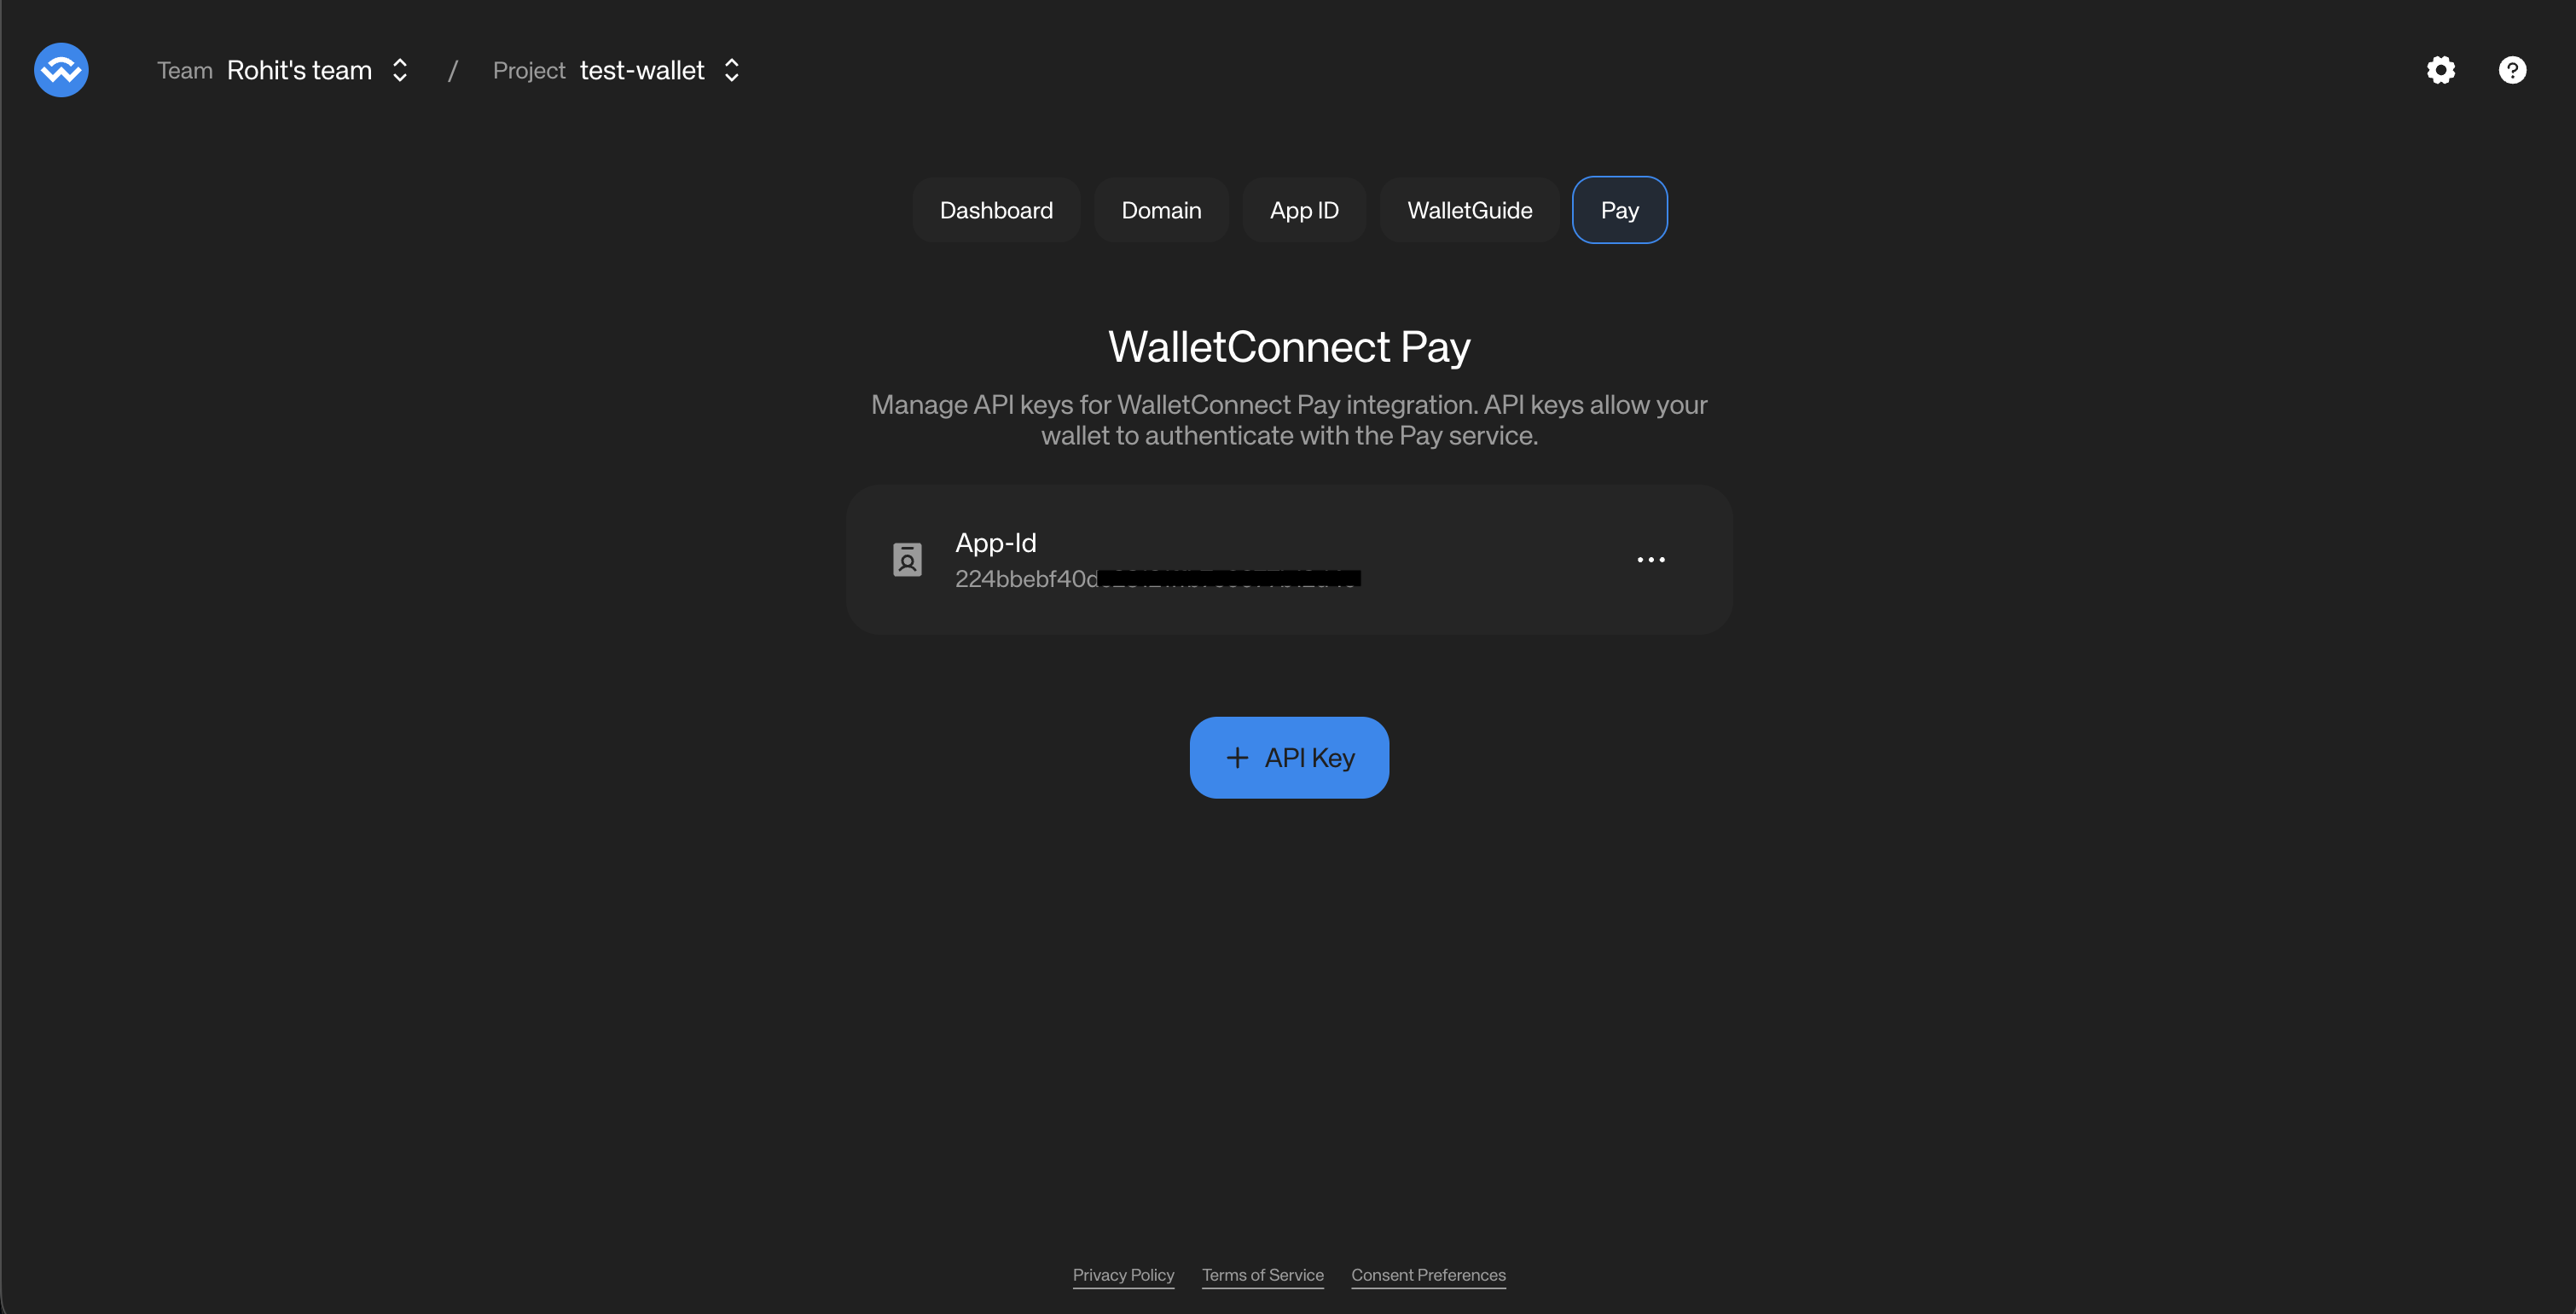
In order to use your WalletConnect Pay, you need to obtain an App ID for your project from the WalletConnect Dashboard.How to obtain an App ID
- Navigate to the WalletConnect Dashboard.
- Select the project that is associated with your wallet (as in, the projectId that is being used for your wallet’s WalletConnect integration).

- Click on the “Get Started” button to get an App ID associated with your project.
- The Dashboard will now show the App ID associated with your project.
- Click on the three dots on the right of the App ID and select “Copy App ID”. You will be using this for your wallet’s WalletConnect Pay integration.
Installation
Install WalletKit using npm or yarn:- npm
- yarn
Check the npm page for the latest version.
Initialization
Initialize WalletKit as usual. Pay functionality is automatically available:Payment Link Detection
UseisPaymentLink to determine if a scanned URI is a payment link or a standard WalletConnect pairing URI:
Payment Flow
The payment flow consists of five main steps: Detect Payment Link -> Get Options -> Get Actions -> Sign Actions -> Confirm PaymentCollect User Data (If Required)
Some payments may require additional user data:
WebView-Based Data Collection
When a payment requires user information (e.g., for Travel Rule compliance), the SDK returns acollectData field on individual payment options. Each option may independently require data collection — some options may require it while others don’t.Recommended Flow (Per-Option)
The recommended approach is to display all payment options upfront, then handle data collection only when the user selects an option that requires it:- Call
getPaymentOptionsand display all available options to the user - Show a visual indicator (e.g., “Info required” badge) on options where
option.collectDatais present - When the user selects an option, check
selectedOption.collectData - If present, open
selectedOption.collectData.urlin a WebView within your wallet - Optionally append a
prefill=<base64-json>query parameter with known user data (e.g., name, date of birth, address). Use proper URL building to handle existing query parameters. - Listen for JS bridge messages:
IC_COMPLETE(success) orIC_ERROR(failure) - On
IC_COMPLETE, proceed toconfirmPayment()without passingcollectedData— the WebView submits data directly to the backend
Decision Matrix
The
collectData also includes a schema field — a JSON schema string describing the required fields. The required list in this schema tells you which fields the form expects. Wallets can use these field names as keys when building the prefill JSON object. For example, if the schema’s required array contains ["fullName", "dob", "pobAddress"], you can prefill with {"fullName": "...", "dob": "...", "pobAddress": "..."}.The top-level
collectData on the payment options response is still available for backward compatibility. However, the per-option collectData is the recommended approach as it provides more granular control over the flow.WebView Message Types
The WebView communicates with your wallet through JavaScript bridge messages. The message payload is a JSON string with the following structure:Platform-Specific Bridge Names
WebView Implementation
WhencollectData.url is present, display the URL in a WebView using react-native-webview. Install the dependency:
Complete Example
Here’s a complete implementation example:API Reference
WalletKit Pay Methods
Pay methods are accessed viawalletkit.pay.*.
Utility Functions
Instance Methods (walletkit.pay)
Parameters
GetPaymentOptionsParams
GetRequiredPaymentActionsParams
ConfirmPaymentParams
Response Types
PaymentOptionsResponse
PaymentOption
Action
ConfirmPaymentResponse
PaymentInfo
PayAmount
CollectDataAction
Error Handling
Handle errors gracefully in your payment flow:Best Practices
- Use WalletKit Integration: If your wallet already uses WalletKit, prefer this approach for automatic configuration
-
Use
isPaymentLink()for Detection: Use the utility function instead of manual URL parsing for reliable payment link detection -
Account Format: Always use CAIP-10 format for accounts:
eip155:{chainId}:{address} - Multiple Chains: Provide accounts for all supported chains to maximize payment options
- Signature Order: Maintain the same order of signatures as the actions array
- Error Handling: Always handle errors gracefully and show appropriate user feedback
- Loading States: Show loading indicators during API calls and signing operations
-
Expiration: Check
paymentInfo.expiresAtand warn users if time is running low -
User Data: Only collect data when
collectDatais present in the response and you don’t already have the required user data. If you already have the required data, you can submit this without collecting from the user. You must make sure the user accepts WalletConnect Terms and Conditions and Privacy Policy before submitting user information to WalletConnect. -
WebView Data Collection: When
collectData.urlis present, display the URL in a WebView usingreact-native-webviewrather than building native forms. The WebView handles form rendering, validation, and T&C acceptance.